|
<< Click to Display Table of Contents >> Introduction |
  
|
|
<< Click to Display Table of Contents >> Introduction |
|
Getting Started with Report Upgrade
Main Menu
You can access the main menu from both the Dashboard Builder and Home. To open the main menu, hover your mouse over the MENU bar on the left side of your screen.
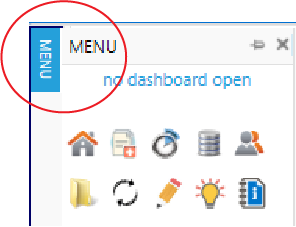
Click on an individual menu item to access a specific module.

The Dashboard Builder
The Dashboard Builder is the module that you use in order to create and modify your dashboards. The dashboard, which includes dashboard components and reports, is the final product that is consumed by the end user.
The Report Builder
The Report Builder is the module that you use in order to create and modify individuals reports. These reports can be exported and printed individually or integrated within a dashboard for the end user.
The Data Connections Management Tool
The Data Connections Management tool allows for you to create or modify external data connections, such as importing new or updated Salesforce objects and fields.
The User Management Tool
The User Management tool allows you to manage Report Upgrade users or portal users who don't have Salesforce accounts.
Opening a Dashboard Function
This allows you to open an existing dashboard from personal or public folder.
Reloading an open Dashboard Function
This allows you to reload an open dashboard, allowing you to access the most current data or reset selected components.
Edit Bookmark Tool
This tool allows you to move or delete personal bookmarks.
Toolbar
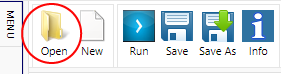
This is the toolbar, it appears on the top of your page and gives you quick and easy access to all your essential functions:

By clicking on the three small gray dots located in the middle of the page, you can expand or collapse the toolbar, giving you more space to work with your dashboards.
Setting up Your Folders
To find a saved or stored dashboard, go to the File tab located on the tool bar and click on the Open button.
Once selected, a pop-up will appear that shows you two main folders: Personal Dashboards and Public Dashboards. To expand an individual folder, select the small plus sign next to each folder.
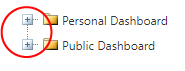
The Public Dashboard folder contains dashboards that are shared with all of the Report Upgrade users in your organization. The Personal Dashboard folder contains dashboards that only you have access to.
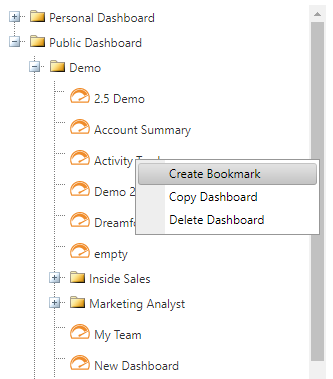
By selecting the dashboard name and right-clicking, you can create a bookmark, copy the dashboard or delete it.
Once you have located the dashboard you want to open, select it and click OK.

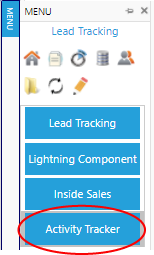
Using the Bookmarks Bar
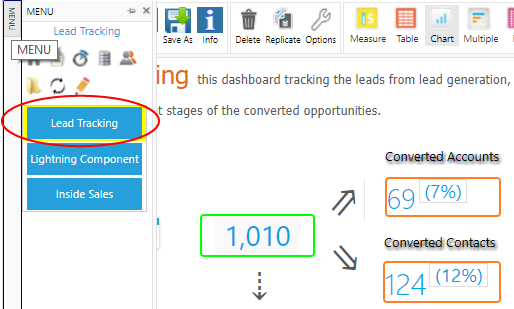
To open your Bookmarks Bar, hover your mouse over the MENU bar on the left side of your dashboard, your bookmarks will appear underneath the primary menu functions.
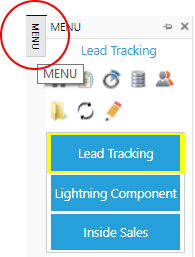
Selecting a bookmark allows you to go directly to that dashboard much like how the bookmark bar on your browser allows you to quickly access a specific webpage.
To hide the Bookmark Bar, click on the (X) on the top right corner of the menu.
How Do I Create a Bookmark?
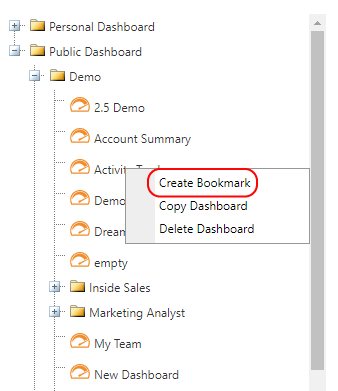
To create a Bookmark, go to the Public or Personal Dashboard folder and select the dashboard you want to Bookmark. Then, right click on the dashboard and select Create Bookmark.
Once the page refreshes, you will see that the dashboard has been added to the bottom of your Bookmarks Bar, under the primary menu functions.
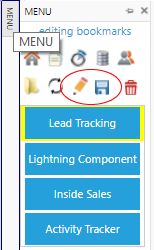
To modify the Bookmarks Bar, click on the Pencil Icon.
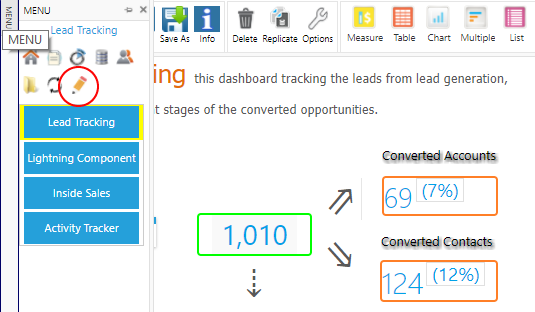
You can now change the order in which your bookmarks appear or delete any unwanted bookmarks. To move a bookmark, simply drag and drop the bookmark to a new position in your bookmark bar.
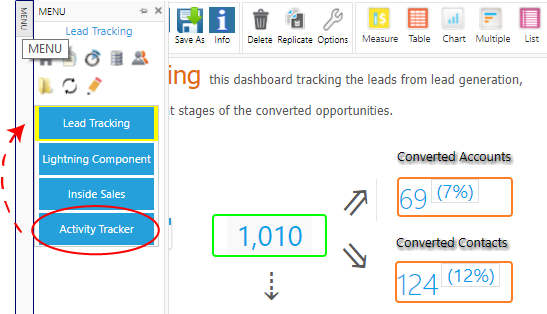
Once in place, click the Save button to save and close Edit mode.